Showing posts with label Kitchen. Show all posts

Monday, March 25, 2013

71 Projects: Pantry Doors... again

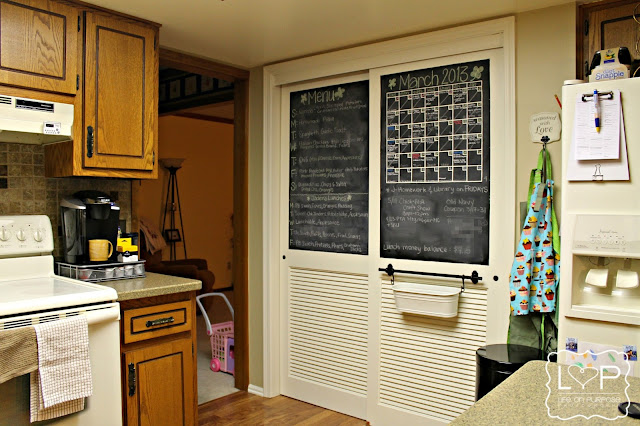
A couple of months ago, I transformed my plain, ordinary pantry doors into a sort of command central station for our home.


I have loved the chalkboards every single day since doing them! As you know, my house is a work in progress. I don't know that it will ever be "done," and I am totally fine with that! I love making it our home and putting my special touches on everything. This kitchen, it will make or break me as a DIY-er.  I have big plans, I tell ya!

After I put the chalkboards onto the pantry doors, I found that I had nowhere to put the chalk.  I also got some chalk pens to use on the calendar. All of these were living in a bowl on top of the fridge. I didn't like it because 1) It just looked out of place, and 2) I wanted the girls to be able to reach the chalk so they can create masterpieces on the garage door. I thought about putting the bowl-o-chalk in the pantry, but space was already limited and the dust... well, it just doesn't mix well in my mind with the food in said pantry. I decided to attach some sort of chalk tray to the front pantry door, under the calendar.  I immediately clicked over to IKEA.com because of their FINTORP Rail.  I had these guys in my old house to hang my pots and pans from.


I do not miss that house.

Anyway, those bars have found a new home in my craft room, so I just bought a new one, along with the FINTORP Condiment Stand to put the chalk in.

I have big plans to repaint my kitchen cabinets some day.  Along with the cabinets, I planned to paint the pantry doors.  I thought it would be smart to get that out of the way before I had the bar put on. Then, I wouldn't have to mess with taking it down or painting around it.  I grabbed my go-to colors from my family room and officially started the Great Kitchen Makeover of 2013.


I LOVE IT.  More than words can say.  My kitchen is a happy place right now... only if you are facing the pantry.


I still haven't started the cabinets, but having the pantry doors done is a start!  There is no turning back now!

Some of the details... The FINTORP Condiment Stand from IKEA worked out great! You can see that there is a removable tray in the bottom with holes in it. This allows the chalk dust to not get piled up in the bottom of the tray.  Also, I love that the bucket is easily removable for cleaning.  The girls can reach it perfectly and have already chalked up the garage door :-)


I plan to have {Chalk} cut from black vinyl to put on the front of the bucket.


I also removed and spray painted the little handle holes.  I had planned on putting knobs on, but I'm glad I decided to just paint what I had.


The paint colors I used in this re-do are Behr Premium Plus Ultra: Gobi Desert (710C-3) for the walls and Parchment Paper (710C-1) for the pantry door and trim.  You can buy Behr paints at Home Depot.


Sharing this re-do with the readers at Adorned From Above and If It's Not Baroque.


Follow Me on Pinterest

Wednesday, October 10, 2012

Shanterest: Cupcake Wrapper Storage


Day 9: Cupcake Wrapper Storage

How genius is this?!

I have a bunch of random cupcake wrappers. Some were garage sale steals and others are random left-overs from parties and holidays. Either way, they were taking up space that could be used for other things.


Follow Me on Pinterest

Tuesday, June 12, 2012

Kitchen Cabinet Dilemma

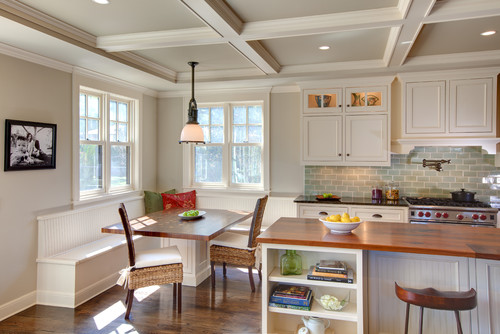
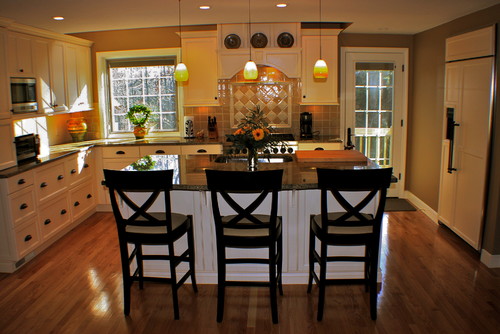
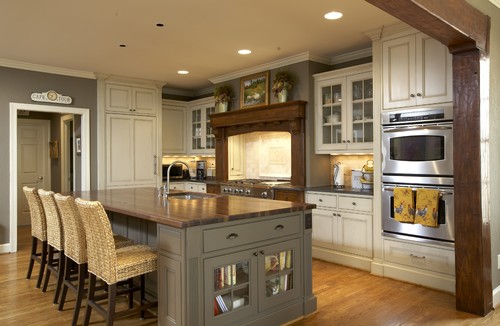
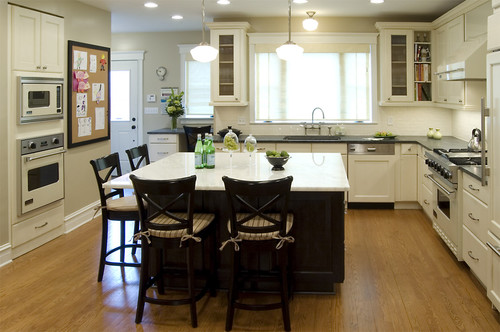
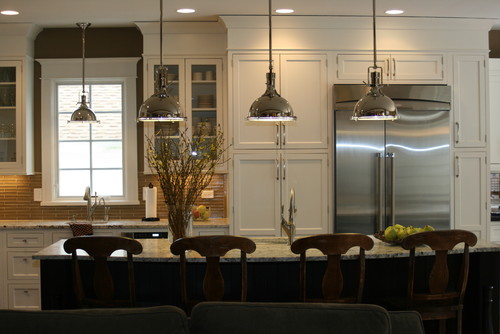
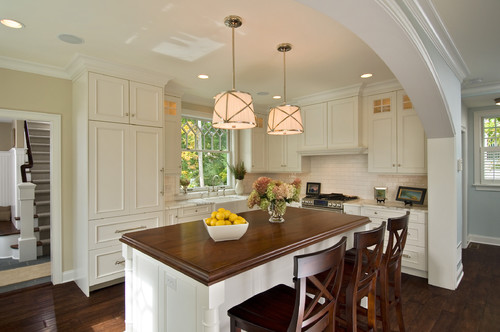
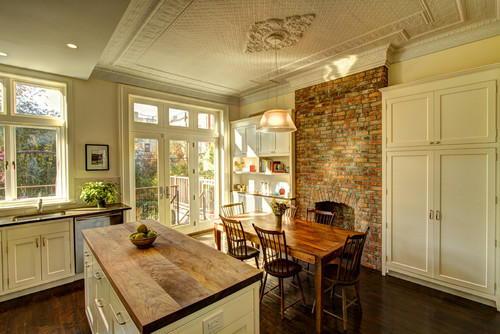
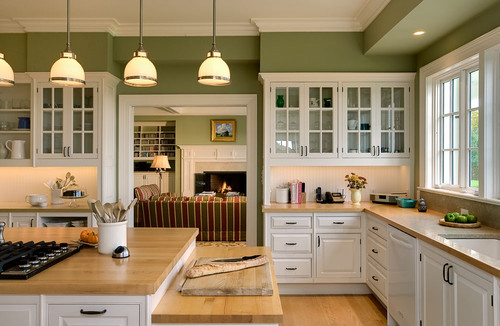
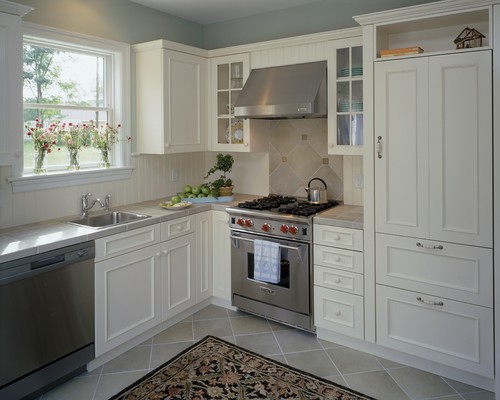
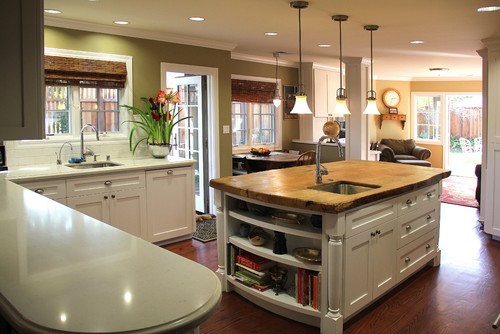
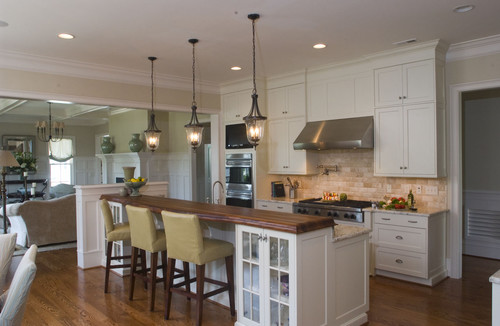
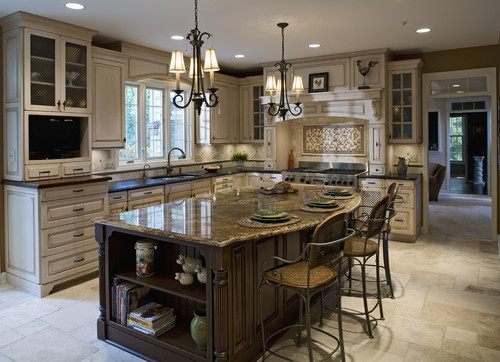
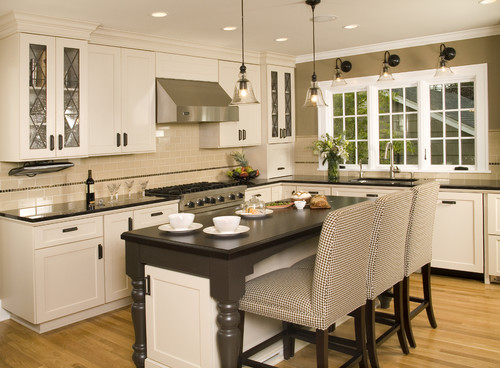
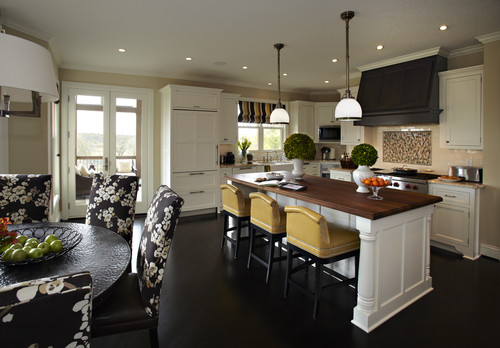
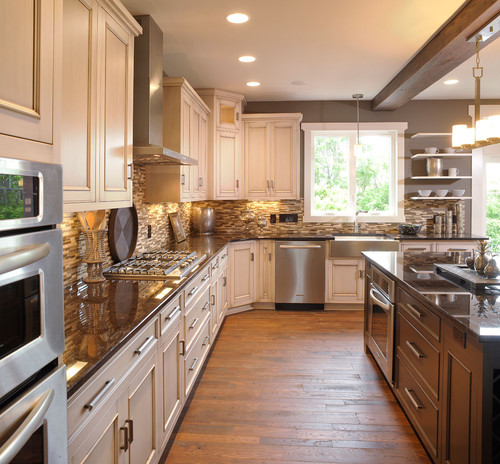
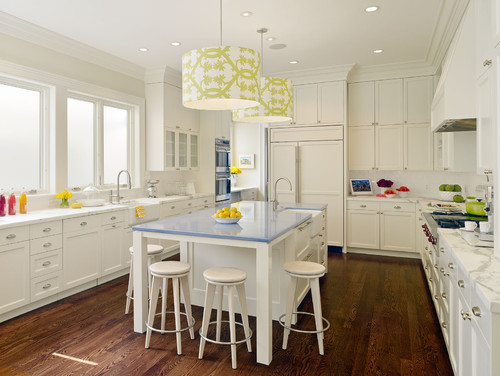
Mike and I are beyond excited to actually move into our new home!  We are only days (possibly today or tomorrow) away!  Naturally, I've been stuck in the universe that is Pinterest and Houzz, looking for ideas for our new place.  My plan is to get the girls' rooms done and then RELAX a bit.  There is so much I want to do to the house, but first I want to take a breather.  My spring project will be the kitchen/dining room/family room.  Right now, it is pretty outdated.  The cabinets are dark, the paint is dark, the wood paneling in the family room is dark.  I need to lighten it up a bunch!  For as long as I've been collecting Pottery Barn catalogs, and from way back in the day when I was probably the only 15-year-old subscribing to Metropolitan Home magazine, I've wanted white kitchen cabinets.  When I lived in an apartment, I obviously couldn't paint them.  When we moved into the Bolton house, everyone raved about how wonderful my beautiful oak cabinets were (gag!) Now, I'm painting them!  They are mine and they aren't "beautiful oak."  BUT, do I keep them painted white, or do I glaze them?  Do I go with stark white or opt for an antique white? Here are some of my inspiration photos, courtesy of Houzz.com, of course!


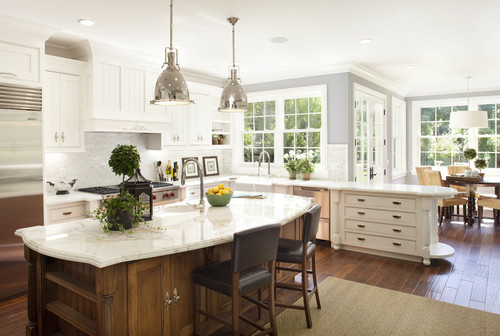
This is a good glazed example:


Here is an antique white:


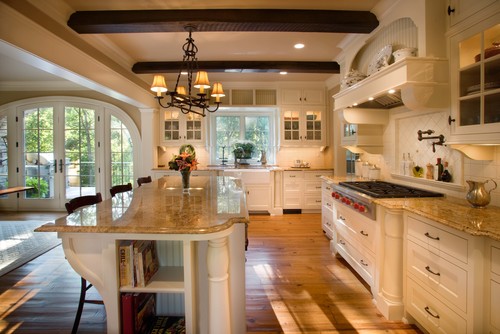
I think this next one is one of my favorites.  It is also very representative of how my three areas all blend into one.


Here is another glazed example:


This next is also a big favorite.  I like the wall color with the white cabinets in this next photo.


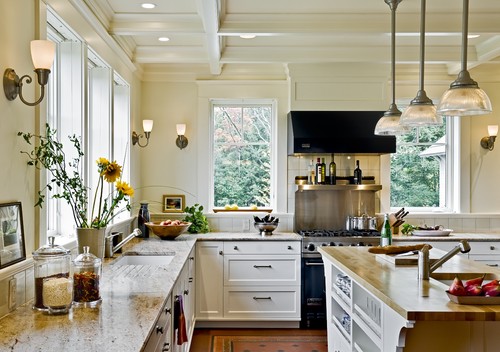
The next one is a little TOO white, but I do love those drum lights, no?


After looking through the photos again, I think I'm leaning a little toward the white or antique white cabinets instead of the glazed.  I know that the glazed look would hide a lot of the fingerprints and dirt, but I think that I could stay on top of it and keep them looking nice... I don't know!  What do you think?

Monday, March 28, 2011

Crescent Calzones


Ingredients:
½ lb. bulk Italian pork sausage
1 garlic clove, minced
½ c. chopped green bell pepper
1 can (8 oz.) refrigerated crescent dinner rolls
¼ c. pizza sauce
½ c. shredded mozzarella cheese (2 oz.)
1 egg, beaten
Parsley

These three tools are essentials in my kitchen. I'll show you why I love them so!


The first is my Garlic Press from Pampered Chef. I love it because you don't have to worry about peeling the garlic first.  Just drop the whole clove into the press...

...and squeeze the press shut. The garlic comes out perfectly minced!

Open the press and the peel is right there for you to throw away! Since getting this garlic press, I always use fresh garlic... it's just so easy!

The second utensil I use regularly in my kitchen is the Mix 'n Chop from Pampered Chef. This little guy mixes and chops ingredients evenly! I especially love it for ground meat because it chops it so finely. Fort Wayners, think Coney Island or Pizza King style ground sausage... it's that awesome!

Finally, I simply can not cook without my Cutting Board with Measure Cups from Pampered Chef. Before I had this, I found it to be such a hassle to chop my veggies and then get them into the different measuring cups, always making a mess trying to scoop the chopped veggies into the tiny cups. This cutting board is so awesome because it comes with inserts that snap right into the board! They range from one tablespoon to one cup. I love it!

In 10-inch skillet, cook sausage and garlic over medium heat until no longer pink; drain.


Stir in bell pepper.

On a greased cookie sheet, unroll dough and separate into four rectangles; press perforations to seal. Spread 1 tablespoon sauce on half of each rectangle, leaving an edge to seal. Sprinkle 2 tablespoons of cheese over sauce; top with one-fourth of the sausage mixture.

Fold dough over filling; firmly press edges with fork to seal. Brush top of each with egg. Sprinkle with parsley. Bake in oven preheated to 375 degrees F for 15-20 minutes or until deep golden brown. Immediately remove from cookie sheet. Serve warm.

I served these with breadsticks and pizza sauce.  I bought Pillsbury canned breadstick dough and sprinkled them with Butter Buds and galric powder before baking.

Enjoy!

I'm linking this recipe to my favorite linky parties this week!