Showing posts with label Recipes. Show all posts

Monday, January 6, 2014

Snow Cream

We are snowed in today after having a BLIZZARD yesterday!  I saw a few people raving about their homemade snow cream on Facebook, so we checked out the link and gave it a shot!

Snow Cream

Ingredients:
½ cup milk
½ cup sugar
½ tsp. vanilla
4-6 cups snow


1. Mix together the milk, sugar, and vanilla until the sugar dissolves.
2. Add the snow and stir until ice cream forms!
3. Put it in the freezer to set up a little bit.


We loved it! We used chocolate milk to make chocolate ice cream, and we are already planning on making vanilla later! It tasted just like homemade ice cream but took only about 10 minutes. No I know why people rush out to buy milk when there is going to be a snow storm :-)


Recipe from Disney family.com


Follow Me on Pinterest

Sunday, October 6, 2013

PIZZA Day!

 
Every so often, we have pizza night at our house. When this happens, the girls like to "decorate" their own pizzas!
 
 
First, we start with a crescent roll crust covered with pizza sauce.

 
Next, we add our favorite toppings... Pepperoni is always a must when it comes to my girls!

 
Then, we top them with cheese!

 
Jaden likes her pepperont on top of her cheese while Taylor buries her roni beneath... Opposites in every way, these girls!

 
Finally, we pop them in the oven at 350 for 8-10 minutes. They come out golden brown and melted every single time!

 
Yumm-O!  You want to join us for pizza night sometime??
 
 
I'm participating in the Nester's 31 Day Challenge!


Follow Me on Pinterest

Thursday, May 30, 2013

My quest for perfection has finally come to a close!

If you are a long time reader of mine, you will know that I will go to great lengths to have a taste of the perfect chocolate chip cookie. Since then, I have made it my life's mission to bake the BEST chocolate chip cookie in all the land! I've tried every recipe under the moon and even though they have all been tasty, they were not perfect.

Teacher appreciation week snuck up on us this year.  Jaden and I decided to give her teacher a cookie mix in a jar. Thanks to Pinterest, I found this printable.  We followed the directions for this jar recipe.


After Jaden got the jar filled, Taylor and I made a batch of finished cookies to go with the gift. Jaden's teacher is pretty much a god in Taylor's eyes :-)  She adores him!


You guys, these turned out PERFECT! They are exactly the type of cookie I have been trying to make for like MY WHOLE LIFE.


We wrapped them up all pretty in some parchment paper and tucked them into a bag with the mix!


Here's my soon-to-be secret family recipe:

The World's BEST Chocolate Chip Cookies
Ingredients:
2 c flour
1 tsp salt
1 tsp baking soda
¾ c brown sugar
¾ c sugar
chocolate chips
1 c butter, softened
1 tsp vanilla
2 eggs

1. Preheat oven to 375°F.
2. Beat butter, vanilla, and eggs together until smooth.
3. Add dry ingredients.
4. Drop onto cookie sheet.
5. Bake for 9-11 minutes.
6. Allow to cool for a couple of minutes on the cookie sheet before transferring to cooling rack.

SO DELICIOUS!

Want to try the cookies but don't want to bake them??  Comment below (why do I get like no comments ever anymore??) and I'll randomly pick a winner to get some cookies made by me and my two cuties!


Follow Me on Pinterest

Tuesday, January 29, 2013

Low-Carb Cauliflower Pizza Crust

One of my New Year's Resolutions this year was to lose ten pounds.  I wanted to do this last year when I discovered that I no longer fit into my shorts.  Well, I still don't fit into my shorts.  BUT, I am working with a group of 11 others and am actually seeing some results!  I was mid-week, week one, when I got discouraged because I was busting my butt and not losing any weight.  Yes, it was early, but I had a goal for myself to lose at least 1½ pounds each week and it wasn't happening.  My mom advised me to lay off the carbs.  Carbs really are my downfall...  But, following her advice, I started to see the number on the scale drop!  

I was looking around Pinterest to find some low-carb recipes and came across a girl that had made a pizza crust out of cauliflower!  I wanted to give it a shot because my family was hungry for pizza and, well, I didn't want to be tempted by that doughy crust :o)


First, using a cheese grater, I grated the cauliflower.  I thought this would be difficult, but it was really very easy!


Next, I mixed all of the ingredients together.  I just sprinkled the Italian seasoning until it looked like enough.  You can use any type of herb or spice to give your crust a unique flavor.  Because I was going to make a pizza with a red sauce, I figured I couldn't go wrong with an Italian seasoning!


After everything is mixed together well, I pressed the mixture onto a greased baking sheet.


Then, I baked the crust for 15 minutes at 450 degrees.


When the crust was done baking, I cut it into four pieces.  My family was having their pizza on crescent dough, so I just put the remaining pieces in the freezer to save for another day!


Finally, I topped my crust with pizza sauce, grilled chicken chunks (pre-cooked), red pepper slices, onion slices, diced green pepper, and a little more mozzarella cheese.  I baked it on the same tray as the crescent pizzas for about 11-13 minutes at 375 degrees and they came out perfect!


This was the BEST pizza I have ever had, homemade or restaurant.  There was so much flavor and it didn't taste like cauliflower at all!  I can't wait until my family requests pizza again :o)

In case you were wondering, after one week, I am down 2 pounds!  I'm on my way to fitting back into those stinkin' shorts!!


Follow Me on Pinterest


Wednesday, December 26, 2012

2012 Missed Moment: Halloween

I hope you all had a great Christmas!  We sure did :o)  From now until the New Year, I'm going to dig back through my photos and show you some of the events and pics that somehow got left off my blog!  It's been a crazy-busy year...  First up: Halloween!!


This was one of my "30 Days of Pinning" projects!
 

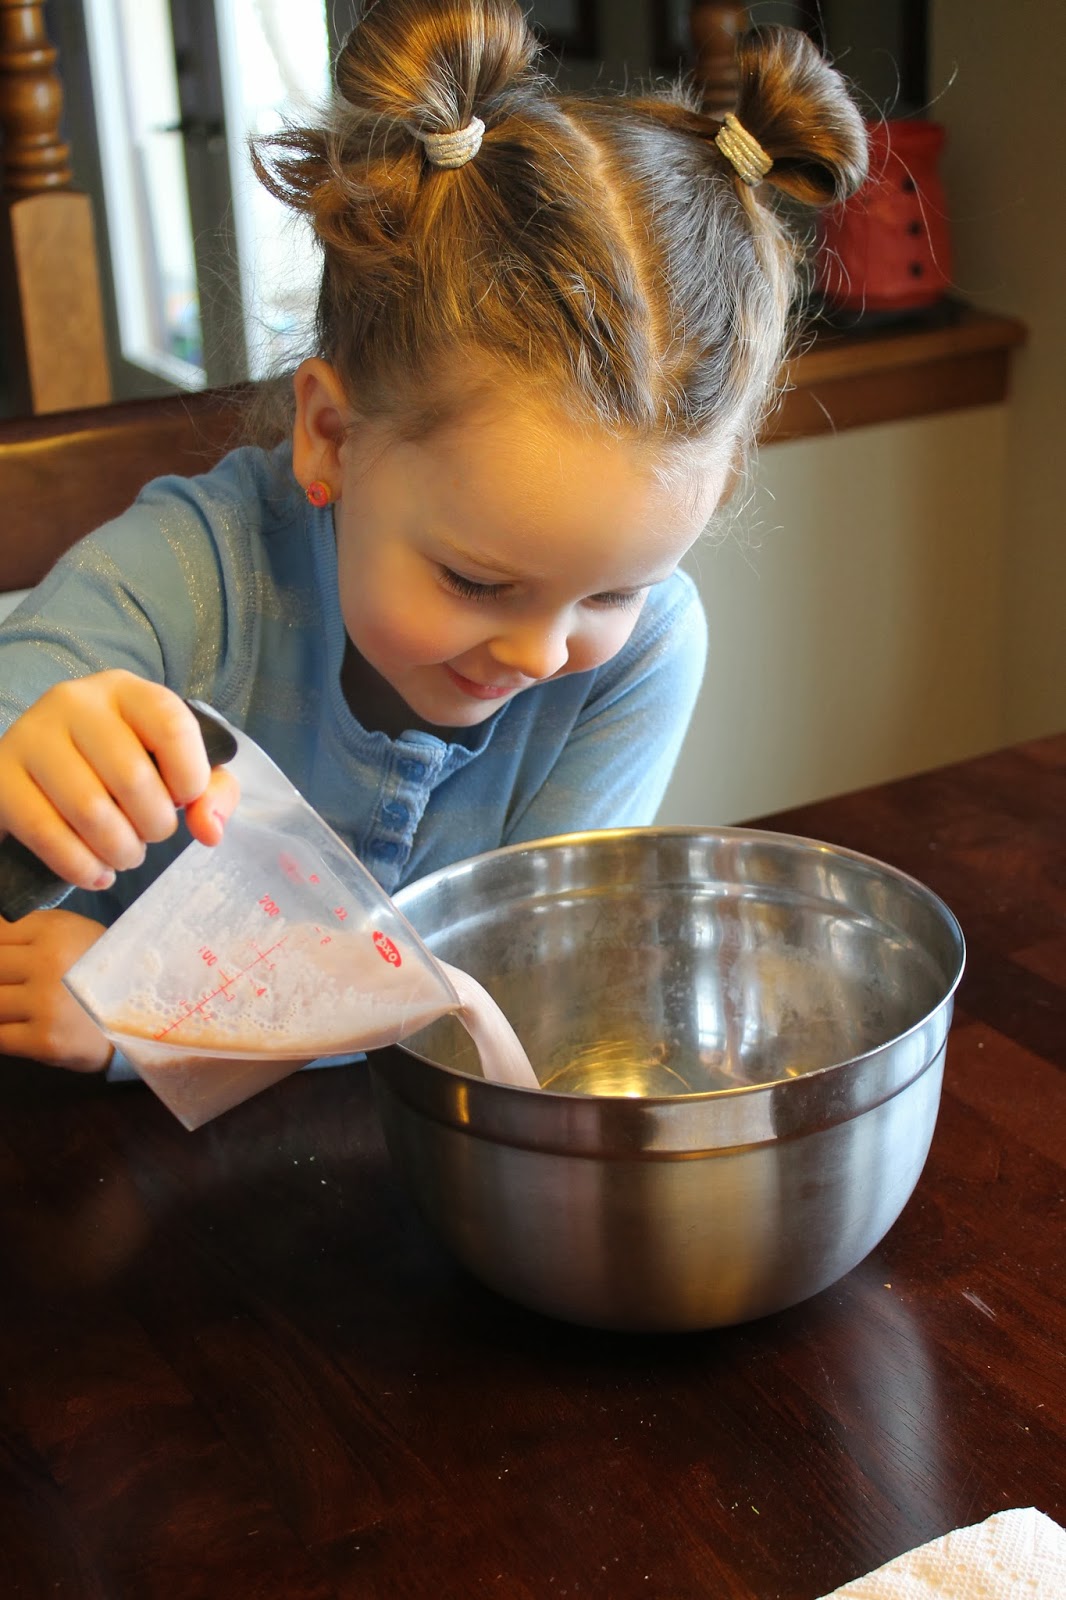
Let's start with the pumpkin carving process.  Yes, it is quite the process.  Our pumpkins take three nights to complete!  The first night was drawing on the faces.  This is the ONE time of year that the girls are permitted to use a Sharpie.


The next night, we carved these awesome jack-o-lanterns!  


The following night, the girls painted the pumpkins!  Process, I tell you, process.


Jaden's Pumpkins


Taylor's Pumpkins


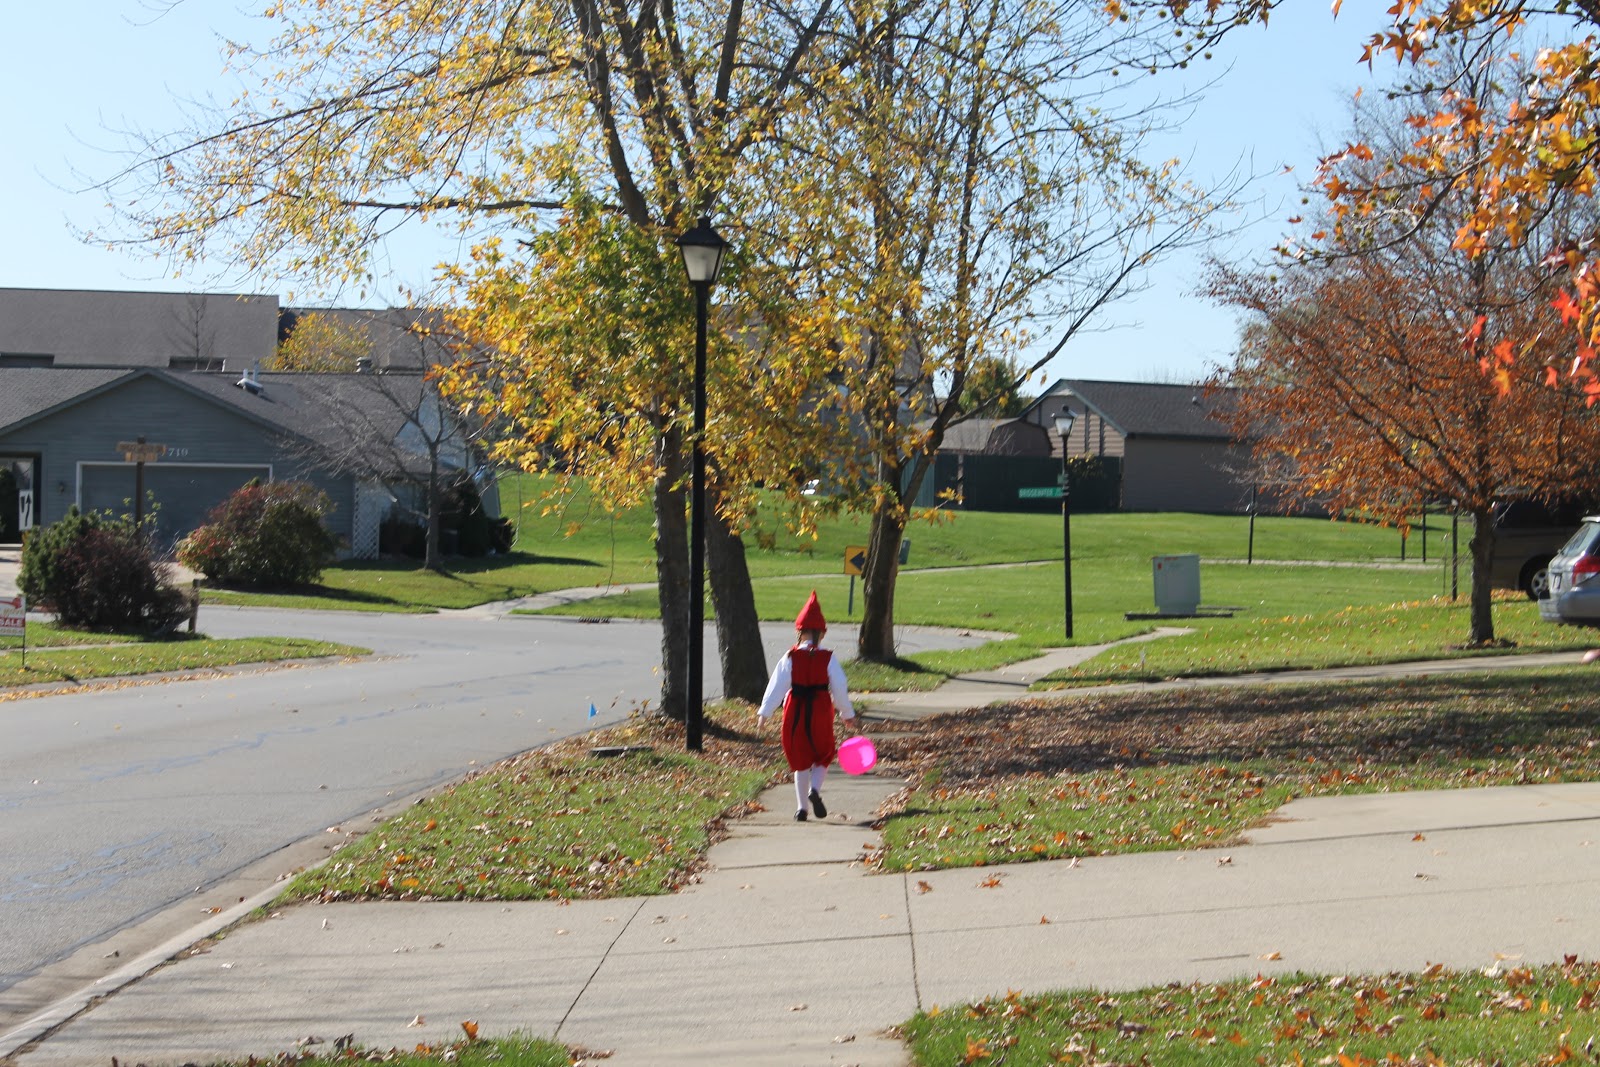
The association we moved into has an adorable Halloween trick-or-treat parade for the little kids DURING THE DAY on the Saturday before Halloween.  Can you say genius??  


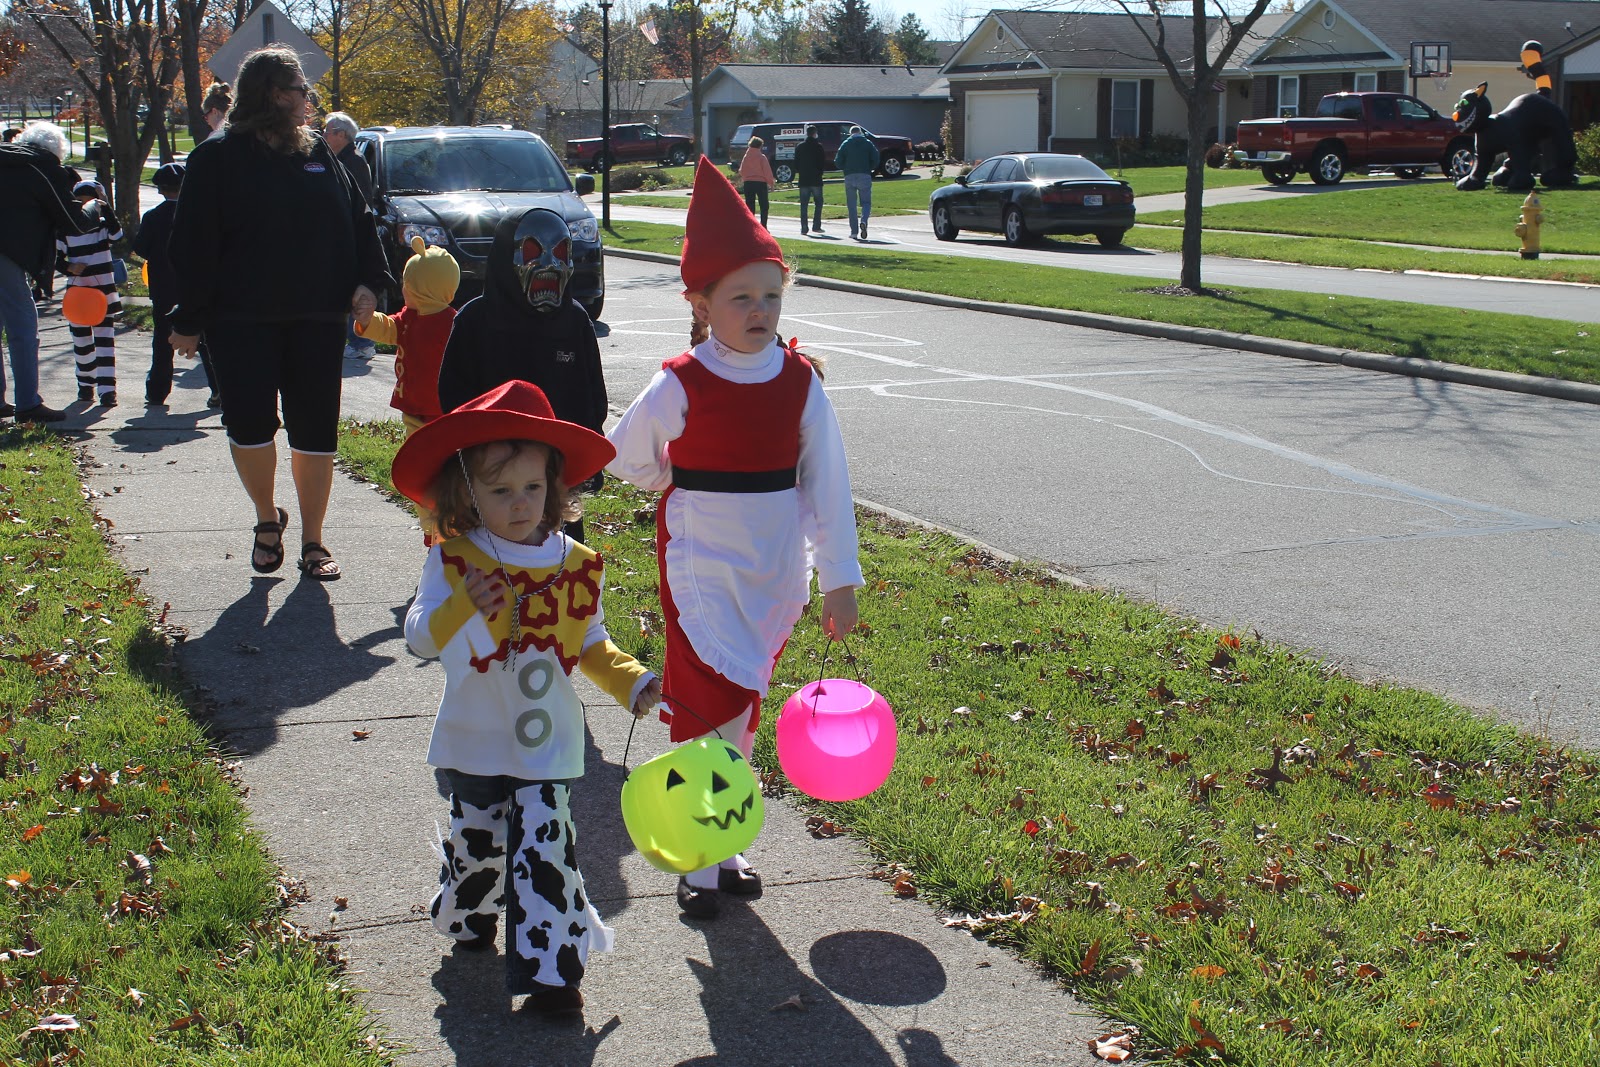
My Juliet and Jessie! 

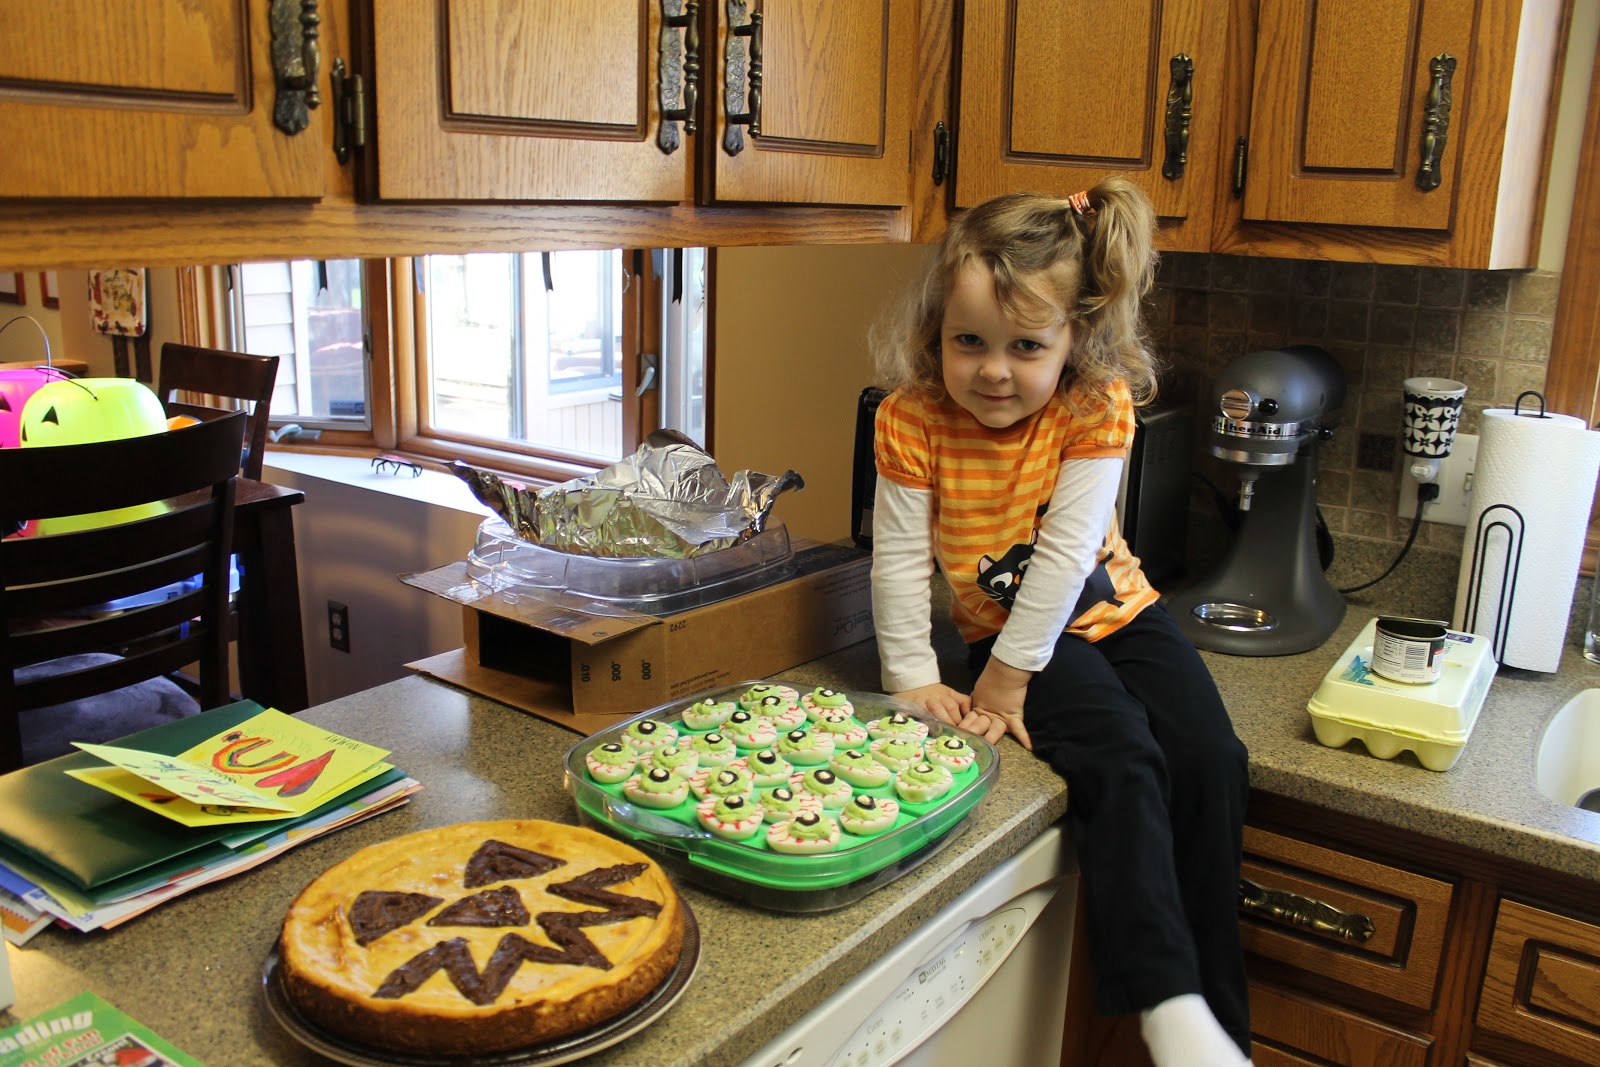
See the completed jack-o-lanterns and "babies"?

"HEE-HAW! I'm a cowboy!" -Taylor


J was having trouble keeping her tights up...

After the parade, I needed to make some spooky goodies for Mike and me to take to our Halloween party!


Brownie Pumpkin Cheesecake

Brownie Base
1 box (1 lb 3.9 oz) dark chocolate fudge brownie mix
Water, vegetable oil, and eggs called for on brownie mix box

Filling
2 packages (8 oz each) cream cheese, softened
½ cup sugar
½ cup canned pumpkin (not pumpkin pie mix)
2 eggs
½ teaspoon vanilla
½ teaspoon pumpkin pie spice
½ cup semisweet chocolate chips, melted

  1. Heat oven to 350F. Spray 10-inch springform pan with cooking spray. Make brownie batter as directed on box for basic recipe; spread in pan. Bake 28-30 minutes or until toothpick inserted 2 inches from the side of pan comes out almost clean.
  2. Meanwhile, in a large bowl, beat cream cheese and sugar with an electric mixer on medium speed until smooth and creamy. Beat in pumpkin until well blended. On low speed, beat in 1 egg at a time, just until combined. Stir in vanilla and pumpkin pie spice. Reserve ½ cup fillinf in small bowl. Pour remaining fillin over baked brownie base.
  3. Stir the melted chocolate chips into reserved filling; place chocolate in large resealable food-storage plastic bag. Seal the bag; Cut off one corner of the bag. Squeeze bag to pipe jack-o'-lantern face on cheesecake.
  4. Bake 40-45 minutes or until center is almost set. Cool 30 minutes. Run knife around edge of pan to loosen cheesecake. Cool 30 minutes longer. Refrigerate at least 2 hours before serving. Cover and refrigerate any remaining cheesecake.
Recipe from Pillsbury Annual Recipes 2009 cookbook.


Deviled egg recipe here.


Mike and I had fun at a Halloween party with our friends!

Yes, he is wearing my pink skinny jeans :o)


Happy Halloweeen!!  Tomorrow, I will share pics from one of the best days of my life...


Follow Me on Pinterest