
You've heard the story before... We had skylights, they leaked (in 18 different spots), we had them removed (5½ years ago), and have been not looking up since. Take a look for yourself:


Not only did we have a leaky ceiling, we also have had some settling issues. The family room in an addition to the house (that was added prior to us buying it). Before it existed, there was a window on the wall that now showcases the fireplace. The window was filled, but with years of settling, the cracks started to appear.


Also, we had about a half inch gap between the baseboards and the floor.

It was also a clutter zone! Our family room was our main room. We all lived in it! The girls had their toys, we had our crap... we loved the heck out of that room!


It was time for a change. Obviously, my source for inspiration came from none other than Pinterest!

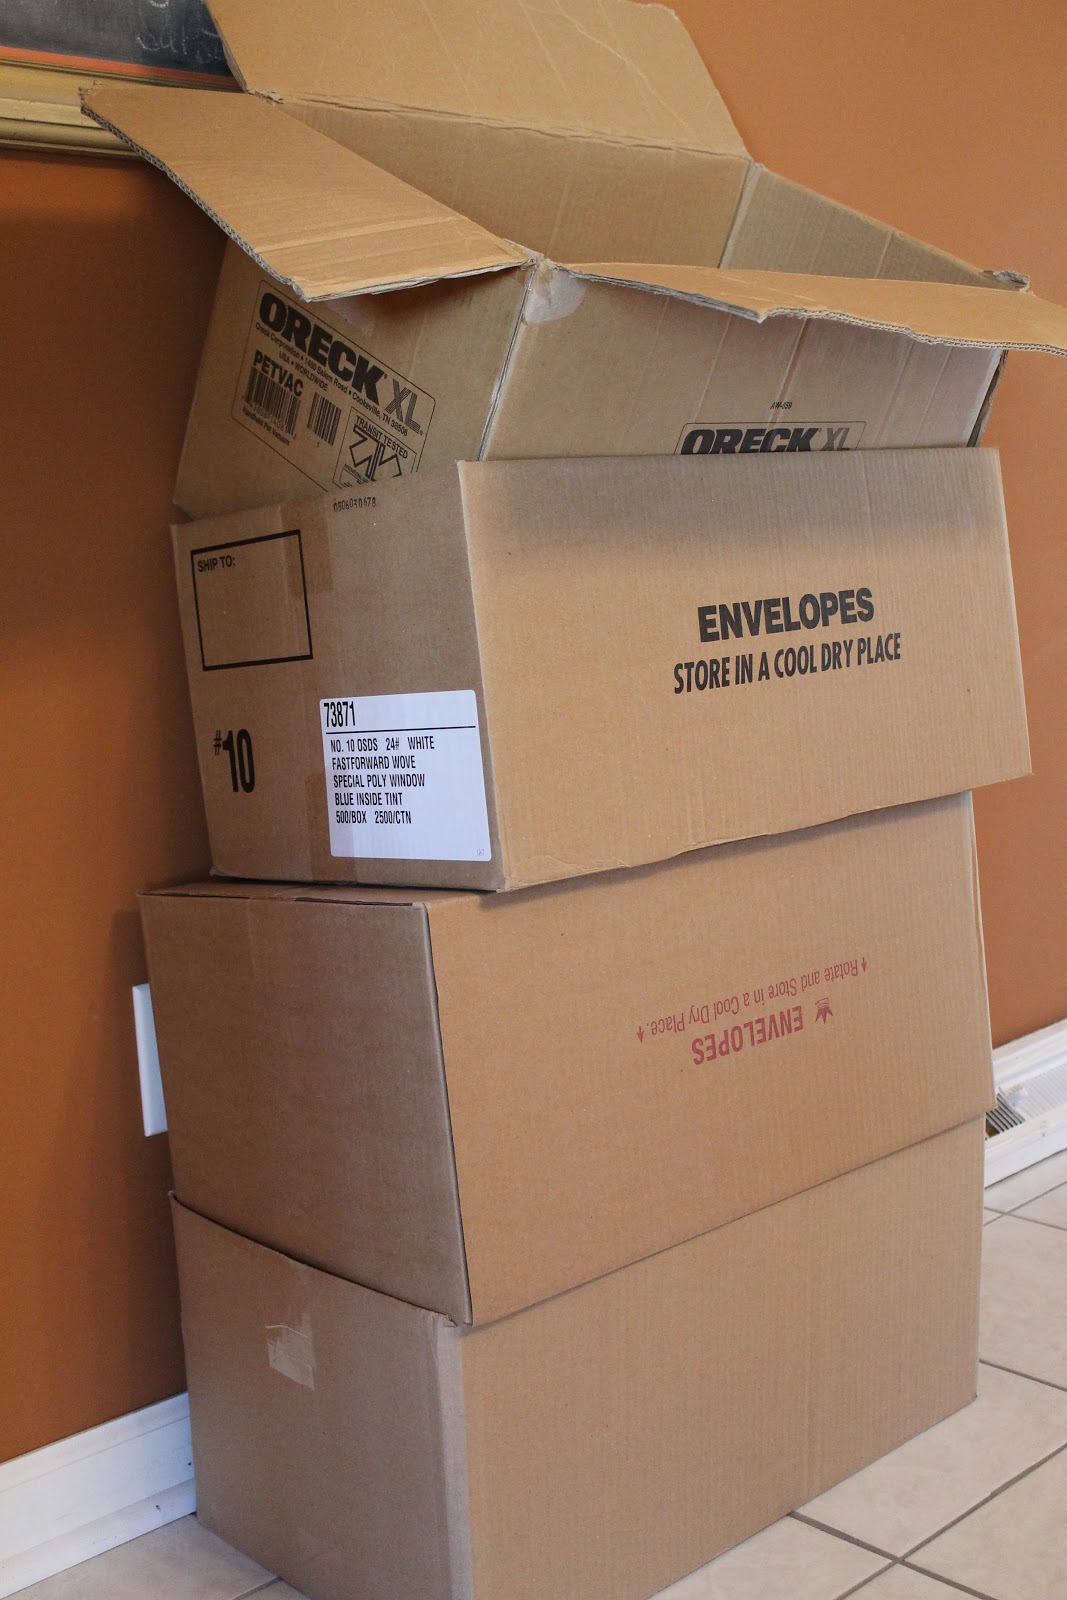
So, we packed up our crap and lived like hoarders for a weekend.


Our precious space was ready for her makeover!


Our handyman came bright and early one Saturday morning and answered our prayers :o)


Dad and Gramps helped my with the new paint job...


...And then came the fun!

I teamed up with Cutting Edge Stencils to create a dynamite focal wall! They provided me with the Rose Damask stencil, along with all of the tools and instructions I would need.

The instructions were super clear and left no room for error. The stencil pattern was cut so it was easy to line up and create an amazing design. It came with a clip-on level so I didn't have to mess with eyeballing or having someone else hold a level to the wall.

If you are looking to create a focal wall, or even a statement throughout the entire room, I highly recommend Cutting Edge Stencils! They shipped my stencil to me incredibly fast, too! I even went online and watched a couple of tutorial videos so I was more familiar with the process.
Seriously, so easy! My only beef was that it took a lot of time. Because of the drastic color difference, I wanted to make sure I had a good solid color. I had to give each stencil two coats. It took me an average of seven minutes to do one section. As you will see in my "after" pics, I had a LOT of sections! If you can afford it, I highly recommend buying two of the same stencil so you can move a little faster. Also, the clean up was simple but a pain in the butt. If I didn't clean the stencil off every so often, it would start to stick to the wall, leaving behind chunks. Like I said though, cleaning the stencil was easy. If I was going to clean it and use it immediately afterwards, I just rinsed it off, dried it, and went on with my stenciling. If I was done for the night, I let the paint dry on the stencil and just peeled it off the next day. Easy, but a pain.
So, what do you think of the finished product?


We are so happy with our new room! I couldn't love it more :o) I had originally planned on doing a wood slat design over the fireplace but decided against it after the stenciled wall was done.
I want to thank Kerry at Cutting Edge Stencils for providing me with the stencil used for my wall. I will definitely be purchasing another one when we move to our new home because not only was it super easy to do, it looks amazing!

Guess what?! Cutting Edge Stencils has offered to give away one stencil of any value up to $50 to one of my readers! You can choose your favorite from their site and they will ship it to you for free! How awesome is that? All you have to do to win is visit http://www.cuttingedgestencils.com/ and comment below, telling me which stencil is your favorite! I'll pick a random winner on Friday, Dec. 9th. Be sure to leave your email address in the comments too! You can earn extra entries by blogging about this giveaway and posting it to Facebook. Just leave separate comments telling me you did so! Facebook friends: You don't need a Blogger ID to comment. Just comment as anonymous and leave me your name and email address in the comment.

24 comments:
I would choose the Casablanca Allover Stencil. Cute blog by the way...
I have been wanting to do a stencil somewhere in my house for awhile now.
I love the Hand Forged Craft Stencils...Love this pattern and would use it in my mix media painting = ) Thanks
nnadeau2222@att.net
LOVE your new family room!!! I want to stencil my new party room! Blast or Funky Wheel? Tough decision! I am looking for a "garden party" theme. Your thoughts, please, you have that sense of design!
I love the Birch Forest Allover Stencil! Would use it in my office/guest room. Your family room looks so cute!!!
m.orga@me.com
Meghan
I would choose the casablanca stencil
I love all the tree and flower stencils! It would be a tough choice!
lissa_ash2004 at yahoo dot com
The harlequin trellis stencil is my favourite! Love your wall, by the way!
I am tied on choosing the all over birch forest for my guest bathroom & the all over paisely for my daughter's room.
Dana
danataylor@live.com
I love the hand forged allover stencil!
Camille
camillescotton at gmail dot com
Love the colors you chose! I would choose the Rabat Allover.
jaclynnechoi@gmail.com
it looks awesome!
I'd love the Rabar Allover for my bedroom!
i'd love the rabat for my living room!!!
Love it!!! I want the Daisy Crazy flowers! I am planning a playroom makeover...perfect idea to add lots of color!!
lukbwu@yahoo.com
Hey, found you through facebook. Your room looks great. I love what a difference the stencils make!
My favorite is the Marrakech Trellis. Thanks for the chance to win! rachelbjorkmasn@hotmail.com
I like the birch tree pattern. I wonder how the stencils work on a subtle skip trowel textured wall?
I love that you labeled this post "Awesome". Yes it is, lady! Yes it is. :)
oh my gosh, i LOVE this! red and turquoise is my favorite color combo. we're doing that in our basement reno, so thanks for the great inspiration.
and love your kitty!
Love the After! The stencil is fabulous as well!
Was linked to your site from Blue Cricket Design - love your style!
I would use the Harlequin Trellis Allover stencil for my spare room (for practice!) and then my bedroom! :)
birds on a branch!
Christie
ropp dot 5 @ wright dot edu
I love the vintage paisley one!
beingfrugalbychoiceblog at gmail dot come
Your new living room looks great! I love the vintage paisley :)
Coley @
whatyoumakeit-coley.blogspot.com
It looks great--I love the vintage paisley one. Thanks for linking up to Beyond The Picket Fence.
Post a Comment